
Leaderboard


Popular Content
Showing content with the highest reputation on 08/11/2012 in all areas
-
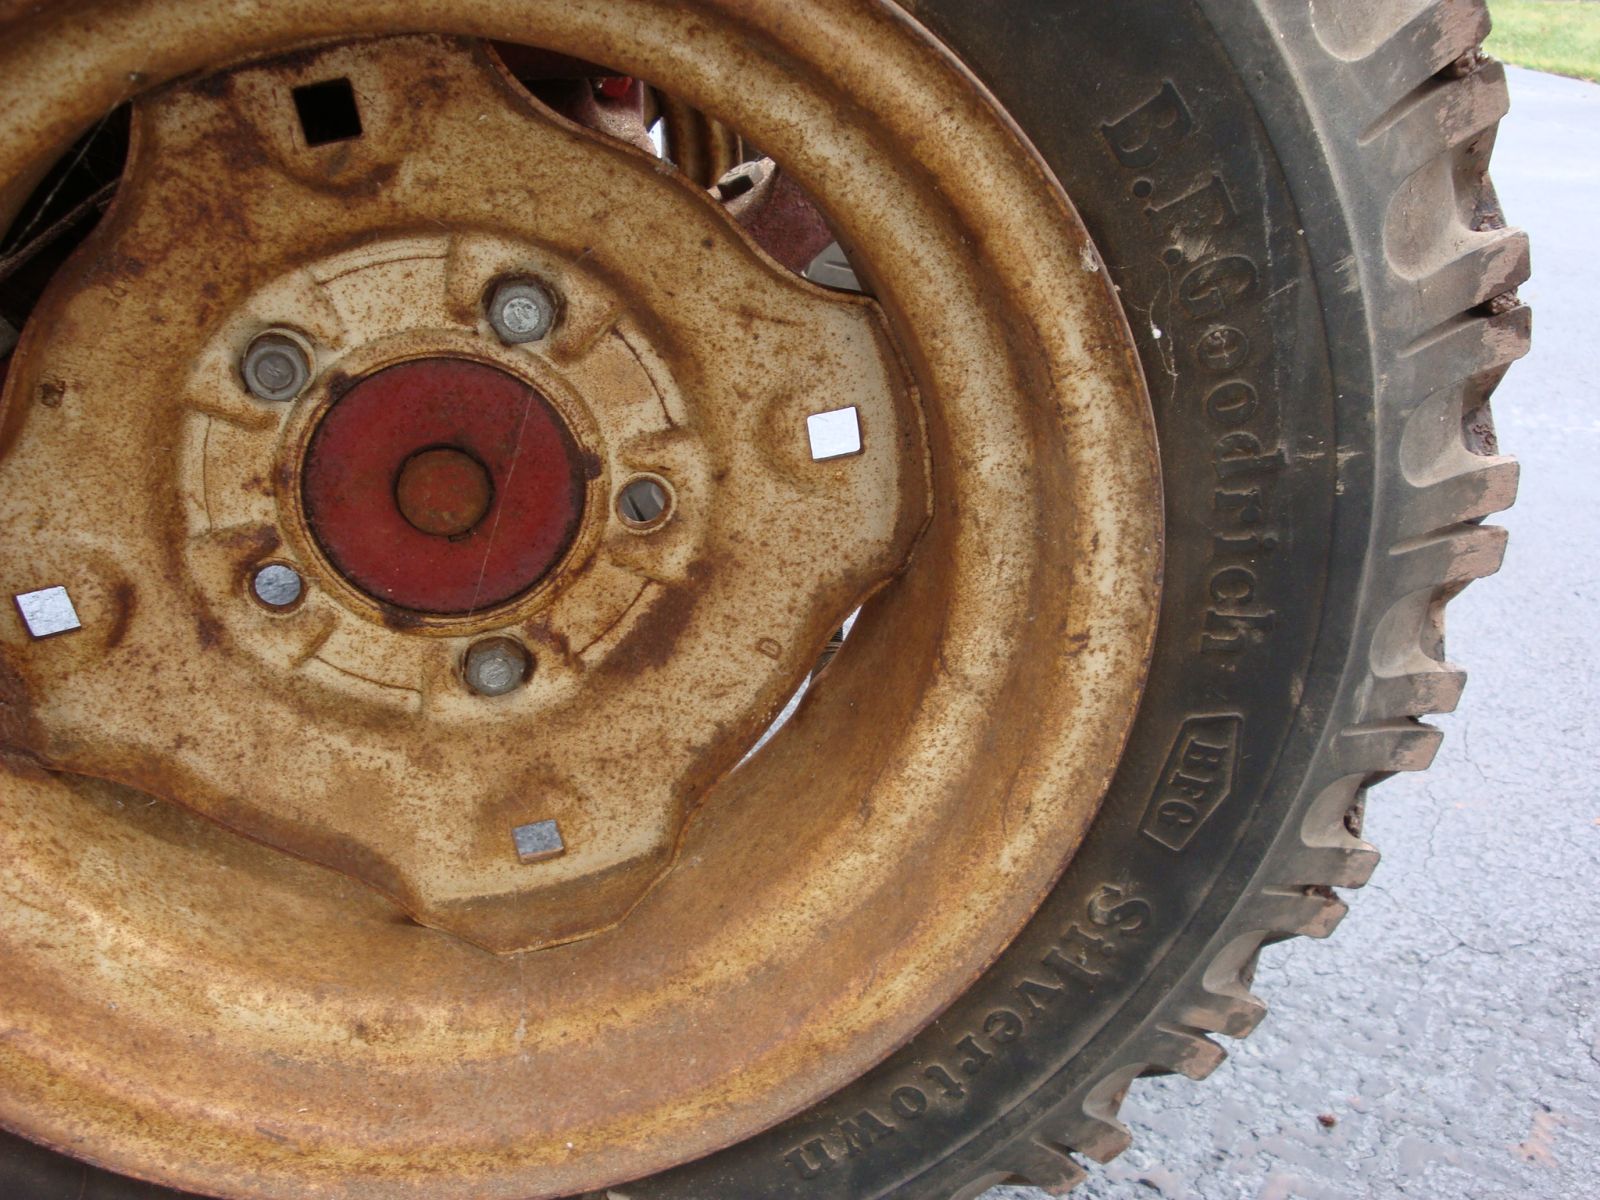
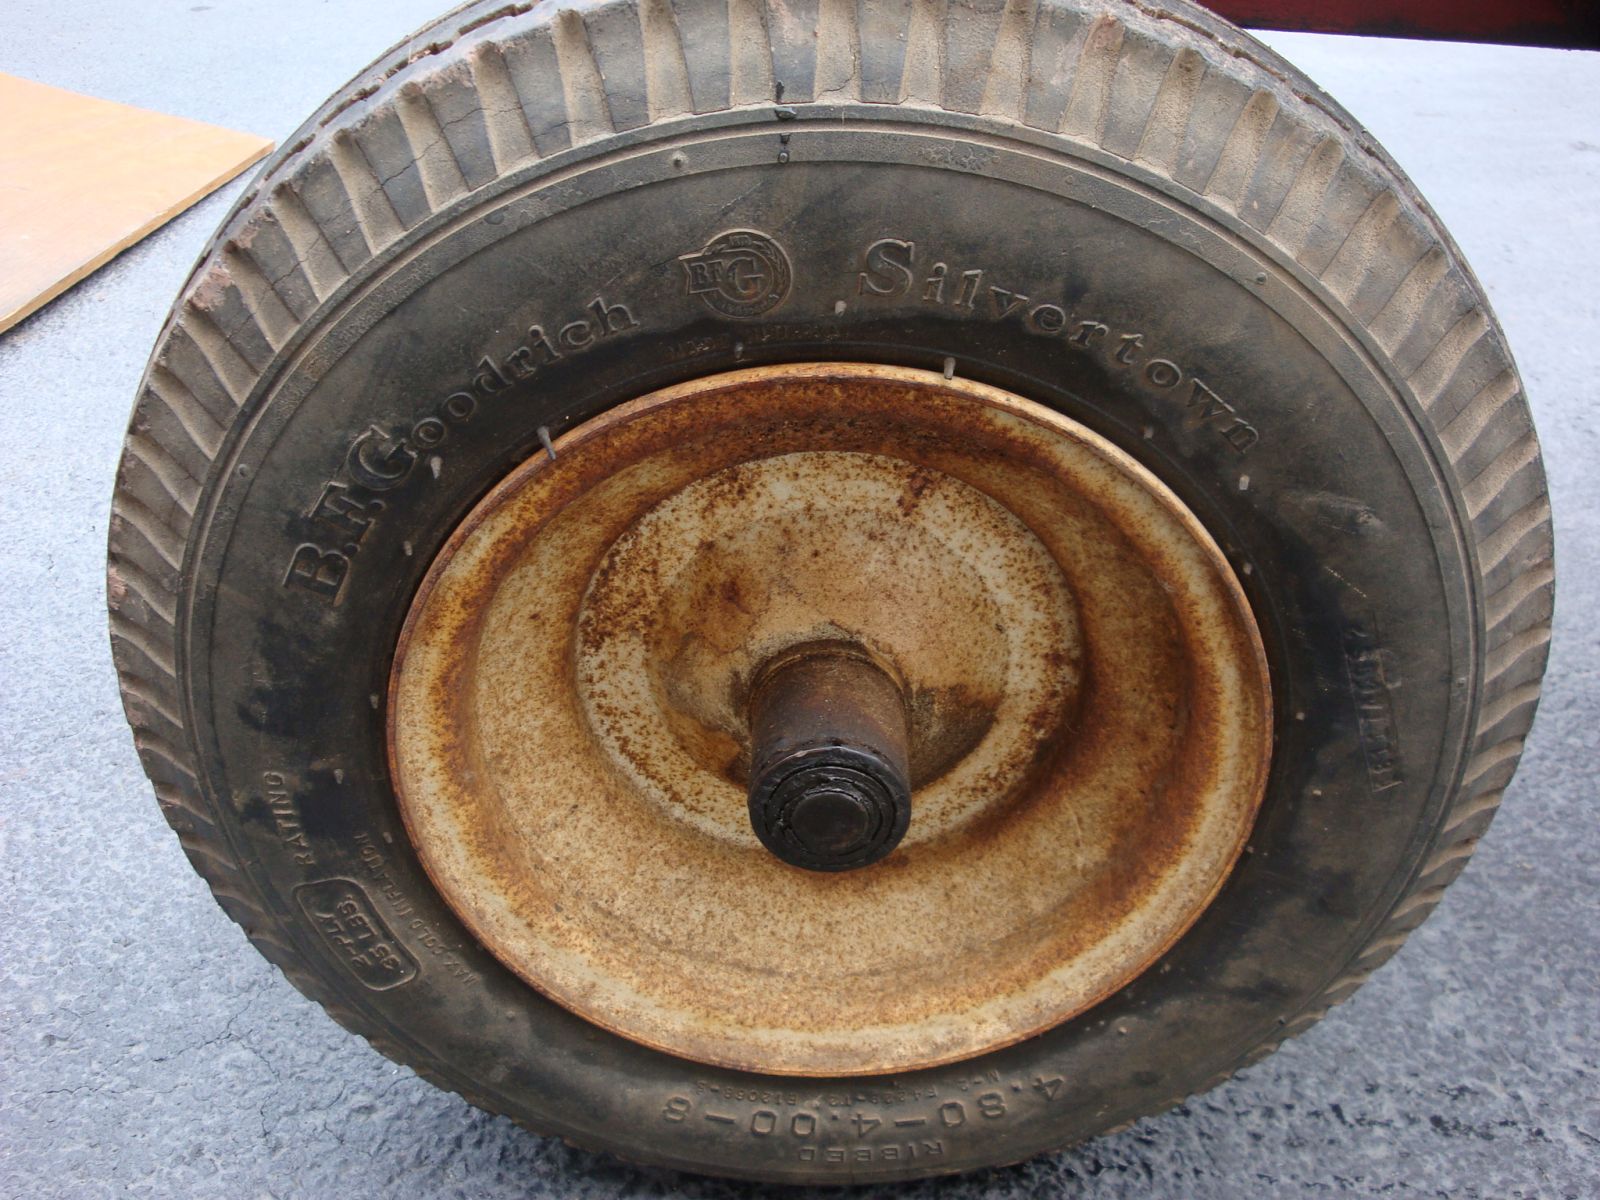
3 pointsI've never seen one with bronze bushes, and I've probably looked at 30 or so. It is quite possible that someone bored it and installed them. I think its a great idea, as long as they ended up in the right place. Before using it I would probably slide a couple of long 3/4" bars into the spindle bores and eyeball the angles, also check out the bolster pin bore in the centre of the axle to make sure it's square to the axle. A 3 foot long bar is long enough to visibly see differences in angles
-
3 pointsSome one said they taste like chicken... :)
-
2 pointsYou only need to worry when they start circling YOU! :omg:
-
2 pointshttp://www.youtube.com/watch?v=OGPD0ZBiMs0&feature=related http://www.youtube.com/watch?v=c-yzrP2iV4g&feature=related
-
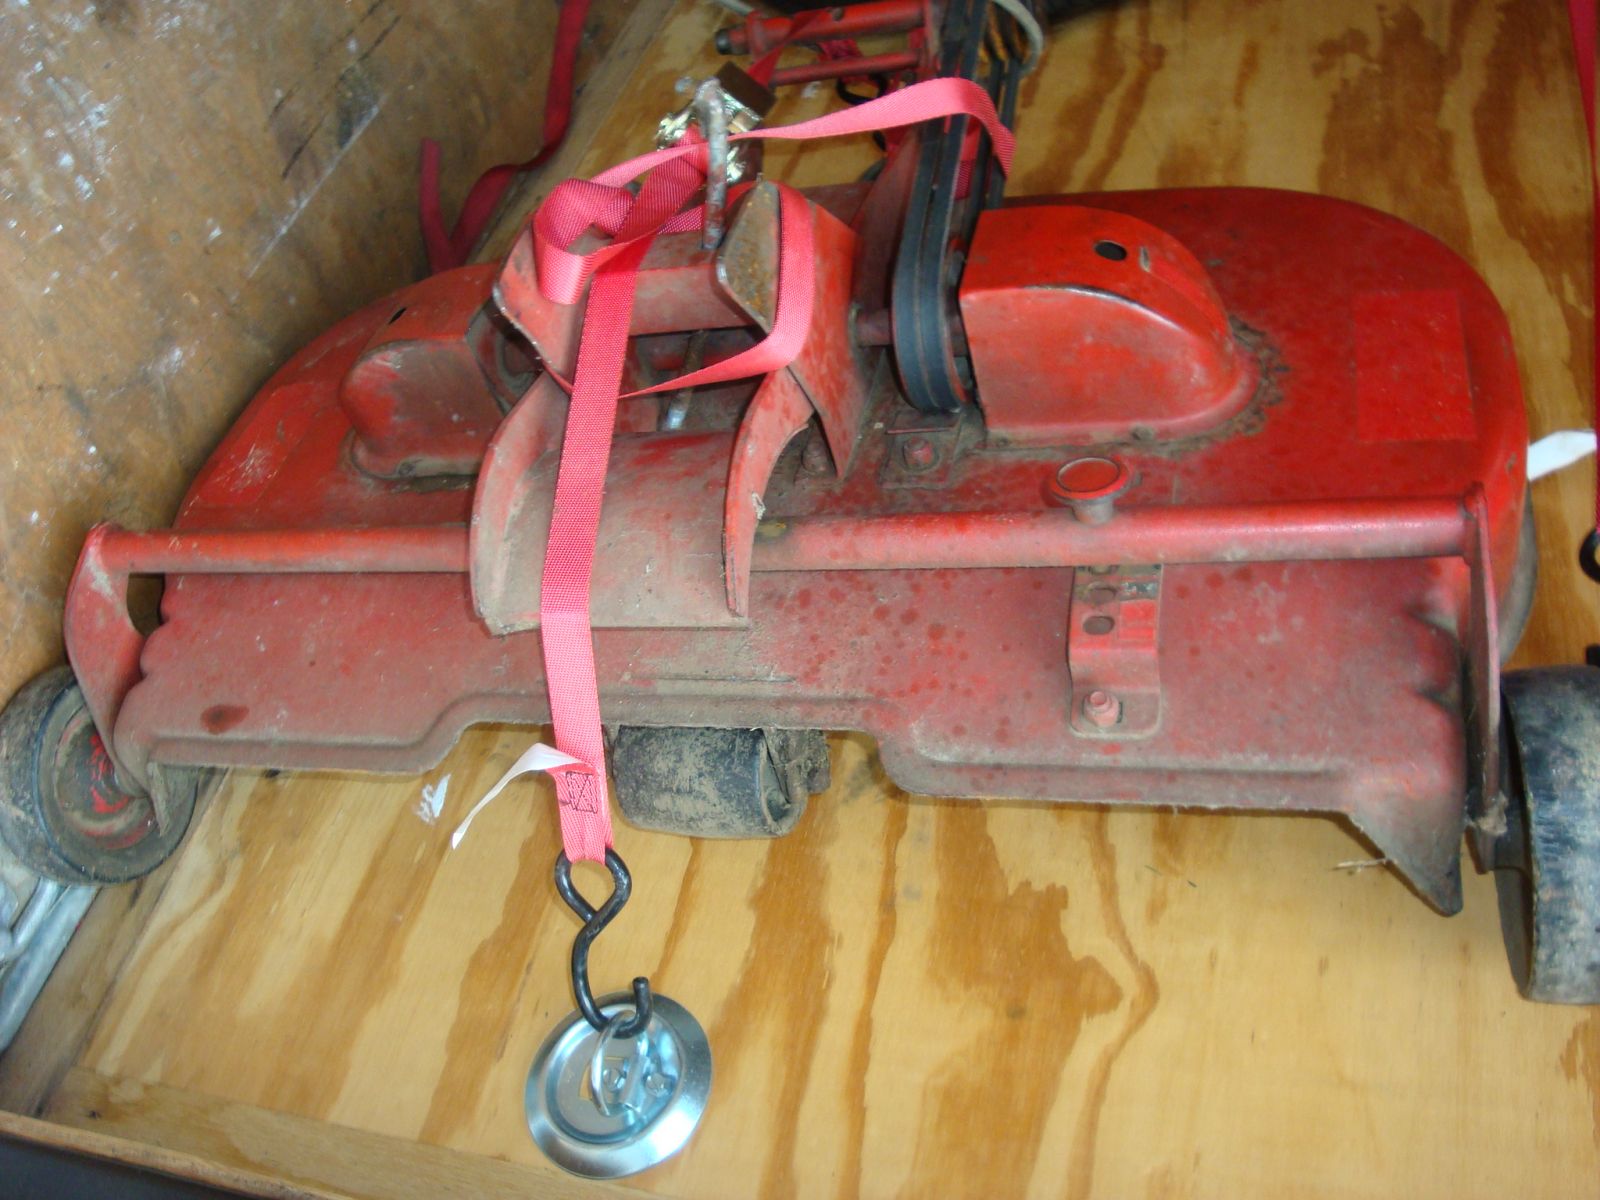
1 pointThe temperature dipped to 19.3 degrees (f) last night, so today I removed the mower deck from the 414-8 in preparation for the plow (another post). I have seen posts previously asking how to do this, so I decided to document the process: FIRST loosen up the mule drive, note to loosen you turn the knob clockwise SECOND remove the belt from the mower center pulley, this works best with the mower lowered. THIRD raise the deck and unhook the attach-a-matic holding the deck to the center hitch by pressing in the button and sliding the release lever over. Once unhooked, lower the deck slowly to remove the rod from the hitch. FOURTH Remove the front mule drive same as the center hitch ***CAREFUL*** as the mule drive will drop down, keep hands clear. FIFTH remove the pin holding the PTO engagement lever to the PTO spindle, then remove the rod and remove the belt. SIXTH slide the mower deck from under the tractor by first sliding the deck until the lift pin drops, then raise the lift lever and remove the deck the rest of the way and you're done!!!
-
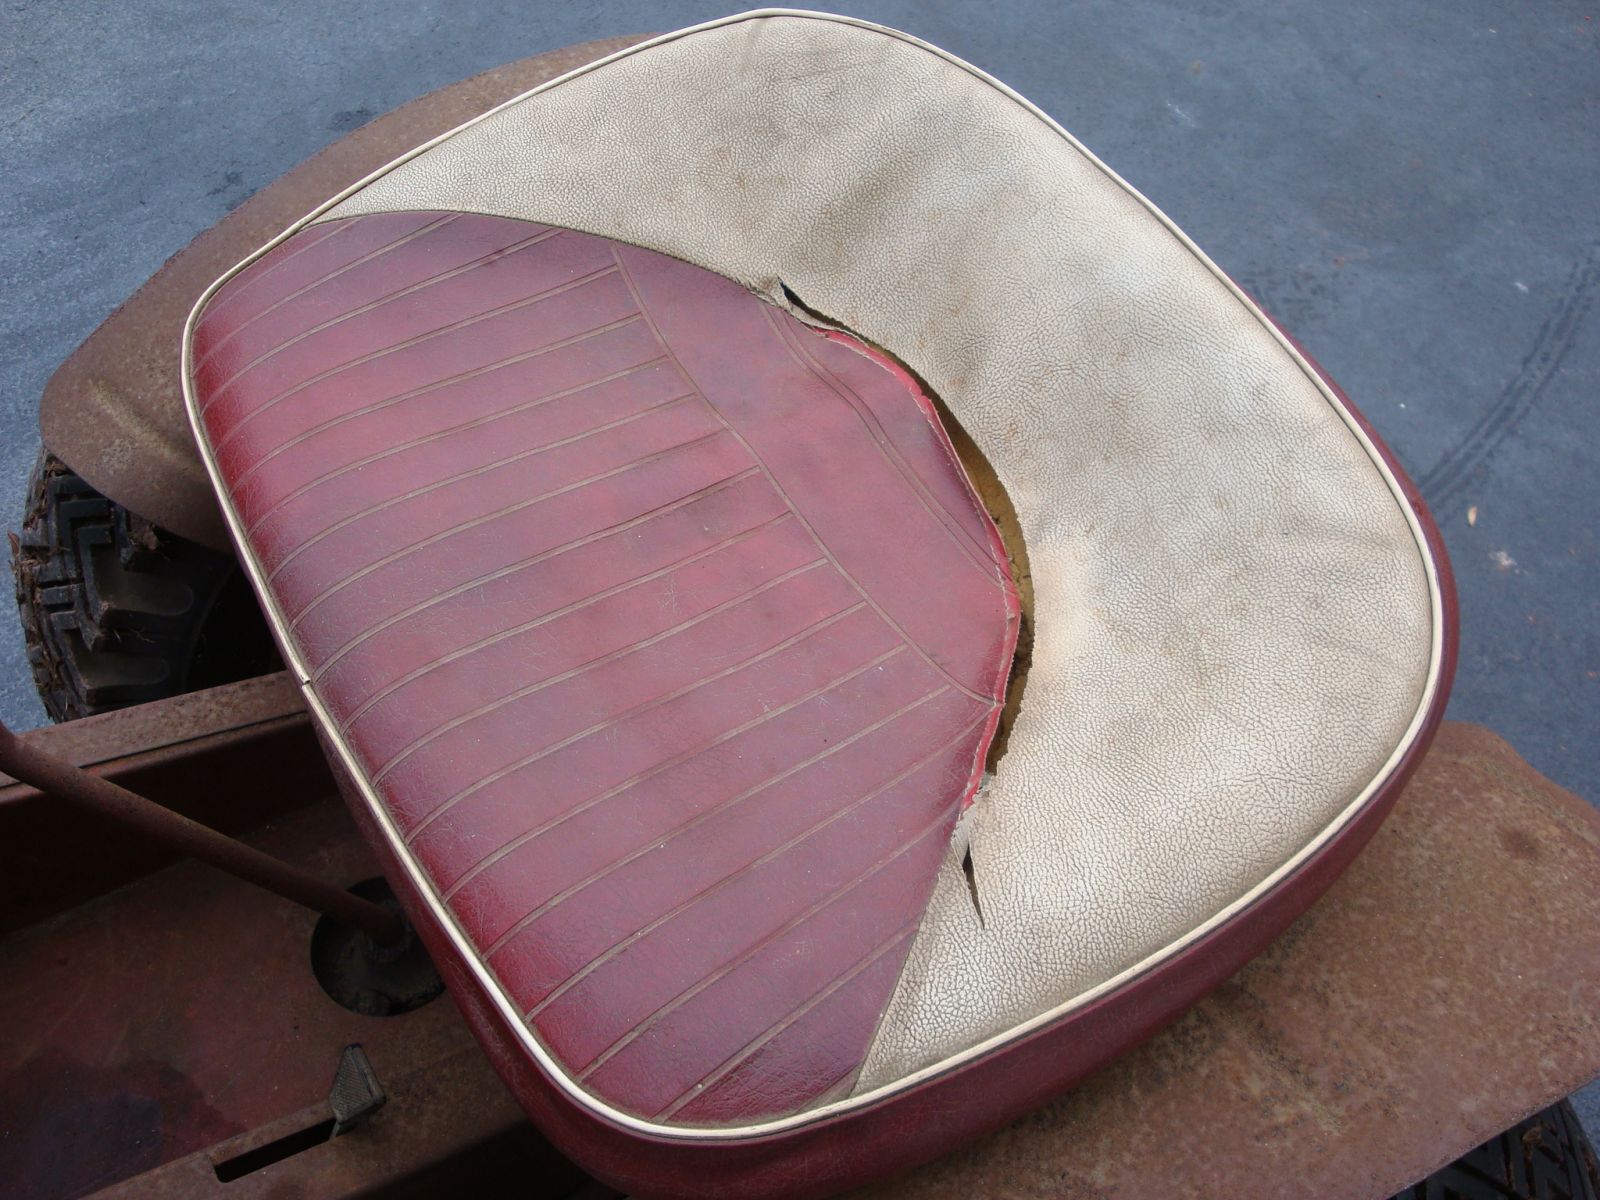
1 pointBefore the Wheel Horse show back in June, I was looking for an original seat for my Commando 8. Although I didn't find what I was looking for, I was sent various pieces of seats, which included several seat pans. Among the pans that I received was this one, sent to me by bowtiebutler956. When I went to the show, I looked around various vendors for seat parts that I could make a correct seat for the Commando. But while looking, I found that parts for the 3-piece seat were more available than parts for the Commando seat. So I purchased a pretty beat bottom cushion, several ripped covers for the top cushions, a foam insert to use for a pattern, an adjusting knob, and so on. I took the seat pan to my powder coater, and just picked it up today. Here's the result. After working on the cushions and upholstery for the last couple of weeks, I finally have my coveted 3-piece seat. Now I have a dilemma. The seat looks so good that I don't want to use it. Maybe I will just sell it and buy another seat from Northern Tools. :hide:
-
1 pointMark your calendars now! This is a must go to event that is just around the corner. Sorry for the delay in getting this up for all of you. Hope to see you there with your shiny machines and your great swap meet items. Remember this isn't just for Wheel Horse enthusiasts. All brands are welcome and encouraged to attend. All questions are to be directed to Ken and Richard........you can see there contact information on the flyer. Ken can also be contacted via RedSquare as fabricator2009.
-
1 pointI picked this RJ-58 from my Bro KenB. What a great resto. Starts on the first pull every time.
-
1 pointHey guys, Well today our town had our annual blueberry festival,I ended up going in the parade with one of my dads friends,was pretty fun! Well here's a shot of me cruising downtown. Jake
-
1 pointI found this old Wheel Horse magazine 23 color pages in excellent shape!! I was wondering if it had any value?
-
1 pointThey were flying in the direction opposite a KFC! :jaw:
-
1 pointUmmm... Which one's tired, and which one's battered? :)
-
1 pointFrom the videos it looked like it releases and turns, but like others have said....Your angle lever must be bent some for it to hit the release pedal. I have mounted plows on tractors that maybe the plow angle handle wasn't designed to fit. A new piece of 1/4" X 1 1/2" flat steel drilled and heated and bent in the proper places and it works perfect again!
-
1 pointThe .pdf manual is at Mike's website (MWH): http://www.mywheelho...962_BD-4262.pdf Here's my BD-4261: You might need to straighten the turning lever on yours - and it works better when you're sitting up on the tractor seat.
-
1 pointI think the angle lever is bent, I have one and doesn't interfere with anything....
-
1 pointRaider 10 as bought.. After... 312-8 not so much a clunker but it did arrive with faded to pint paint. And odd wheels on the front! As she looks now.... Just without the snow.. or the plow.. I'm not sure this counts.... C-125 tired and battered.. Now errr.... Looks like this
-
1 pointDay 3 started out bad. Battery melted down in the truck over night. $100. Wiper transmission broke in son's car. Nothing used is worth the effort to try. $350. going to watch Tony Stewart in a sprinter at Black Rock Speedway. Have to leave by 5:00. Not much time for pageant walking. Got a pic of Reddi and Elvis keeping my B-N-L's Farmall A company and a shot of Reddi's new license plate that someone took and had to get a new one
-
1 pointPull the nozzle out of the gun and compare it to a new one.If you do a lot of blasting and use the aggressive media they will wear fast. I used carbide nozzles from TP. 3 times the cost but about 10 times the life! :)
-
1 pointthe red wire to the ignition module should stay at battery voltage - because it should be connected to the (+) ignition coil which is connected thru the ign switch to the battery. the red lead for the ign module is actually the power supply to the module. It powers the transistor and magnetic sensor embedded in the epoxy case of the module. the ground of the module is not the black lead - the black lead is what we will call the module "output". the electrical ground for the module is the metal bracket that attaches to the engine block. when the ign module sees the magnets in the flywheel ring, the module lifts the ground off the ign coil and causes a spark. I have a few pictures of the inner workings of a module along with some magnetic sensor "plots" of the flywheel ring and its two embedded magnets. I'll get those out later today. It won't help you fix your issue but it will promote some understanding of how the system works.
-
1 pointThe abrasive coming through the gun is also abrasive on the nozzle tips. It will eventually wear the tips warranting replacement thus the reason you got extras.
-
1 point
-
1 pointOk, I spun it cc with a 1/2 drill and it moves strong.I need a longer electric cord
-
1 point
-
1 pointhttp://www.youtube.com/watch?v=eLzqQupzzmA
-
1 point
-
1 pointYou know that once he gets it running, he will then need to take it all apart and clean and paint it, and then he will decide that there is a job for this machine that requires some new attachments, which of course will have to be built from scratch, etc. etc. etc. I expect that we will see the 5 year cupcake....:P
-
1 pointOk fellas... Here is the final uppdate on my mower deck.. So i hope u guys like it.. So here are some more pict.. here it is ready to get some paint and here are the parts painted started to bring it back together.. And im almost done.. just miss the roller.. the roller was bad like this.. so i had to make me some new ones of polyamide/nylon so i made them a bit bigger .. And the final resto pict is like this and Thanks to Glen for that nice BANNER.. And a few pict of the deck on the tractor And i need to say thank u Rollerman(Stephen) for that nice deck spindels works perfect and in realy good shape..
-
1 point
 My wheel horse in the back 40. Rj58 3616 could not find any munbers on transmission. I have painted the wheels and seat Sherwin Williams antique white.
 -
1 point
-
1 point
-
1 point
-
1 point
-
1 point
-
1 point
-
1 point


This leaderboard is set to New York/GMT-04:00