
Leaderboard


Popular Content
Showing content with the highest reputation on 08/10/2012 in all areas
-
2 points
-
1 pointBefore the Wheel Horse show back in June, I was looking for an original seat for my Commando 8. Although I didn't find what I was looking for, I was sent various pieces of seats, which included several seat pans. Among the pans that I received was this one, sent to me by bowtiebutler956. When I went to the show, I looked around various vendors for seat parts that I could make a correct seat for the Commando. But while looking, I found that parts for the 3-piece seat were more available than parts for the Commando seat. So I purchased a pretty beat bottom cushion, several ripped covers for the top cushions, a foam insert to use for a pattern, an adjusting knob, and so on. I took the seat pan to my powder coater, and just picked it up today. Here's the result. After working on the cushions and upholstery for the last couple of weeks, I finally have my coveted 3-piece seat. Now I have a dilemma. The seat looks so good that I don't want to use it. Maybe I will just sell it and buy another seat from Northern Tools. :hide:
-
1 pointThe things fathers do for their kids!!!!!!
-
1 pointThe land rover Curiosity landed on the surface of Mars this morning. The first picture just came through... :ROTF:
-
1 pointhttp://www.youtube.com/watch?v=OGPD0ZBiMs0&feature=related http://www.youtube.com/watch?v=c-yzrP2iV4g&feature=related
-
1 point. it actually looks better in the pics than up close. plus you cant run your hands over it in pics and feel all the bumps...... Looks great! Always nice to see your work,Martin. And yes, you are right. I tried running my hands across the screen and it's really smooth!
-
1 pointUsed to be in the auto body business. How to do it is sort of an acquired skill, but most anyone can do it with some practice. Aside from the safety concerns WoodMotorsports said, gun set up/paint thinning is critical. I would watch as many videos as you can on the subject like . You have to get the pattern and volume adjusted correctly for a nice job. Search YouTube for a little while for stuff like this . Spray a few things you don't care about first to see how they turn out. :)
-
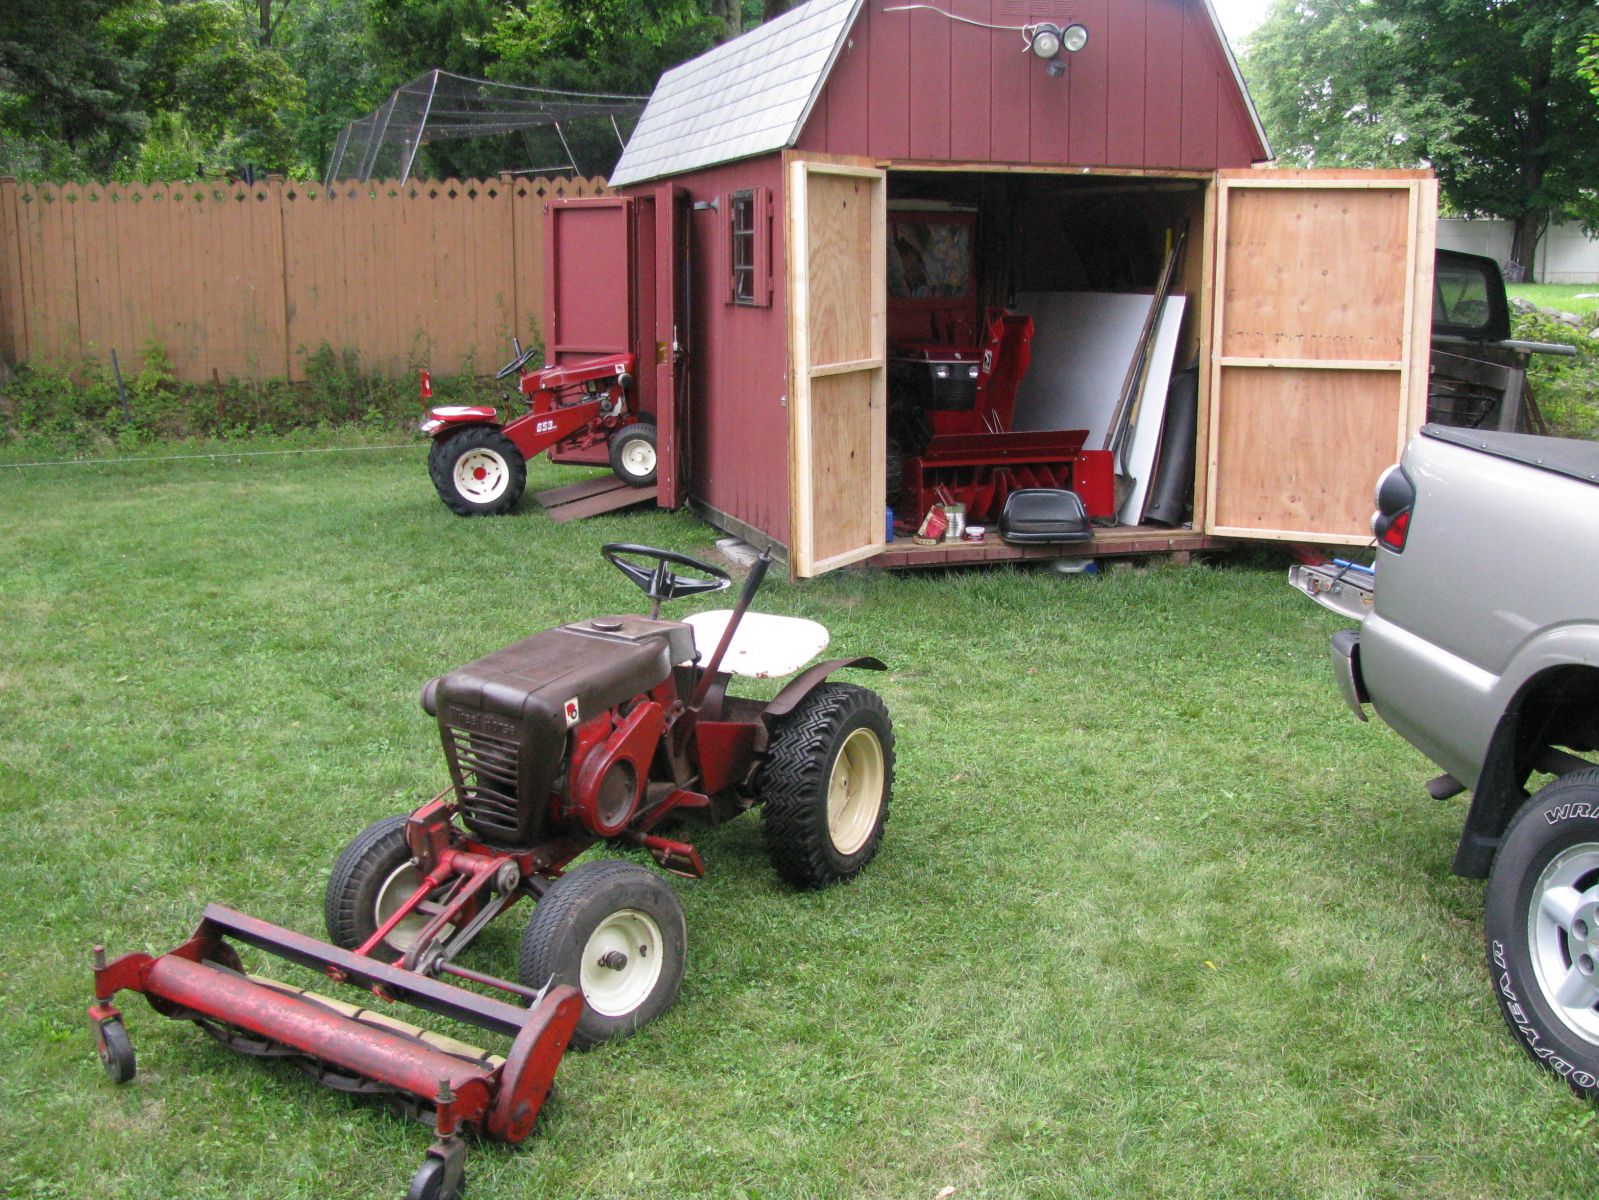
1 pointheres some more pics, im happy with how the hood looks on the tractor. you can see all the dents left in it now. the hood catches will hold the dash end better, its still got a little twist in it and i dont care if its not perfect because i want to use this one for lots of seat time..... i probably could have got the black area on the top here a little straighter, but since it was over a large slightly concave area i probably would have made it look worse so i just left it alone and will just ignore it..... hood fits ok around the dash on this side..... not so good here though..... if you cant get the metal dead straight, hide it with orange peel, heavier than i really wanted though..... see, i even post pics of the crappy parts of my work too...... hoods no where near perfect, but at least it got saved to work another day....... also got my dual bulb tail lights in the mail today, so wiring them and new headlights will be next.....
-
1 pointNot a pro painter by any means, but I can tell you that if your using hardener make sure and use a good respirator. And I'm not the normal internet safety cop, but hardener can do far more damage to your lungs than normal paint. That being said, I've had much better luck getting a good final finish when I use it. Now I'll step aside and let some better paint guys than me carry on with this one.
-
1 point
-
1 point
-
1 point
-
1 point
-
1 pointOk, I spun it cc with a 1/2 drill and it moves strong.I need a longer electric cord
-
1 pointSo here it is.... Not too bad for first time doing one.... Don't want to do another for a while though. Too much headache....... the black will dull off just a little more, in these pics its only just come out the oven......
-
1 point
-
1 pointRandy Travis has himself in some hot water these days. Driving intoxicated, running around the side of the highway NAKED when he gets pulled over! WTF? Maybe he is just tryin to prove he really is the King of the Road! Anyway, here ya go!
-
1 pointTony Bennett - Fly Me To The Moon:
-
1 pointhttp://www.youtube.com/watch?v=eLzqQupzzmA
-
1 pointhttp://www.youtube.com/watch?v=HUsxDfAaOfc&feature=related
-
1 pointBefore..... and after! Duff :thumbs:
-
1 pointI'm diggin' that ultra rare albino black hood.
-
1 point
-
1 pointThanks Matt. It's getting there slowly. I guess it's all down to what kind of work needs to be done on an 'orse as to how good your shop needs to be... If you get slightly carried away with a build (like me) then things like a lathe come in handy.... Then again, every one should have a lathe, such handy machines The vid's and picture will keep on coming, just maybe a little slower than they have been. Slow is the only speed my body works at at the mo. 3 years eh... How time fly's when your having fun You may have a point there Matt.. Meet you in the middle and call it a "mini saga" That's 3 days of your life your never get back.. Only kidding. Thanks for taking the time to read through it all. Sorry guy's yet another small update, I'm just very short on energy at the mo. Anyway, with all six spacers for the axles made, it was time to see how the chain clears the bolt heads now.. Yep, that's enough space. The sprockets only sit 2mm proud of the axles, nowt a thick washer won't solve. At long last the skateboard wheels finally turned up. A bit of trimming is needed but they should make good chain guides. This is a first for me, turning a skateboard wheel on the lathe. The original plan was to cut a groove in the center. But today I decided just to make them a smaller diameter. An invisible Pete seen here having fun on the lathe. And that folks is where the build stands at the end of play today. Other than..... Happy birthday to this build thread.. 3 years old today.. A slice of cake for Pete.. A slice for me.. And of course let's not forget... :D
-
1 pointVery cool...I love how the little guy leans it into the turns. :thumbs:
-
1 pointLooks like it works pretty good...hard to push it through?
-
1 pointI have the TP SkatBlast 850 with the vac system, foot pedal upgrade, and final filter bag. I run a 40 gallon single stage Husky (which is made by Cambell Hausfeld) and it works amazing. I used to use much lager SkatBlast cabinets years ago in a welding shop and we never had a single issue with them. I dont have one residual spec of sand anywhere. I do run two moisture traps though. One immediatly out of the compressor and one right before the cabinet itself. If I blast for a long time I need to periodically evacuate the traps but never have issues in the cabinet. They seem expensive out of the gate, but its money well spent in my opinion.
-
1 pointOrder a TIp Tools catalog and you'll have more blasting information that you'll know what to do with!
-
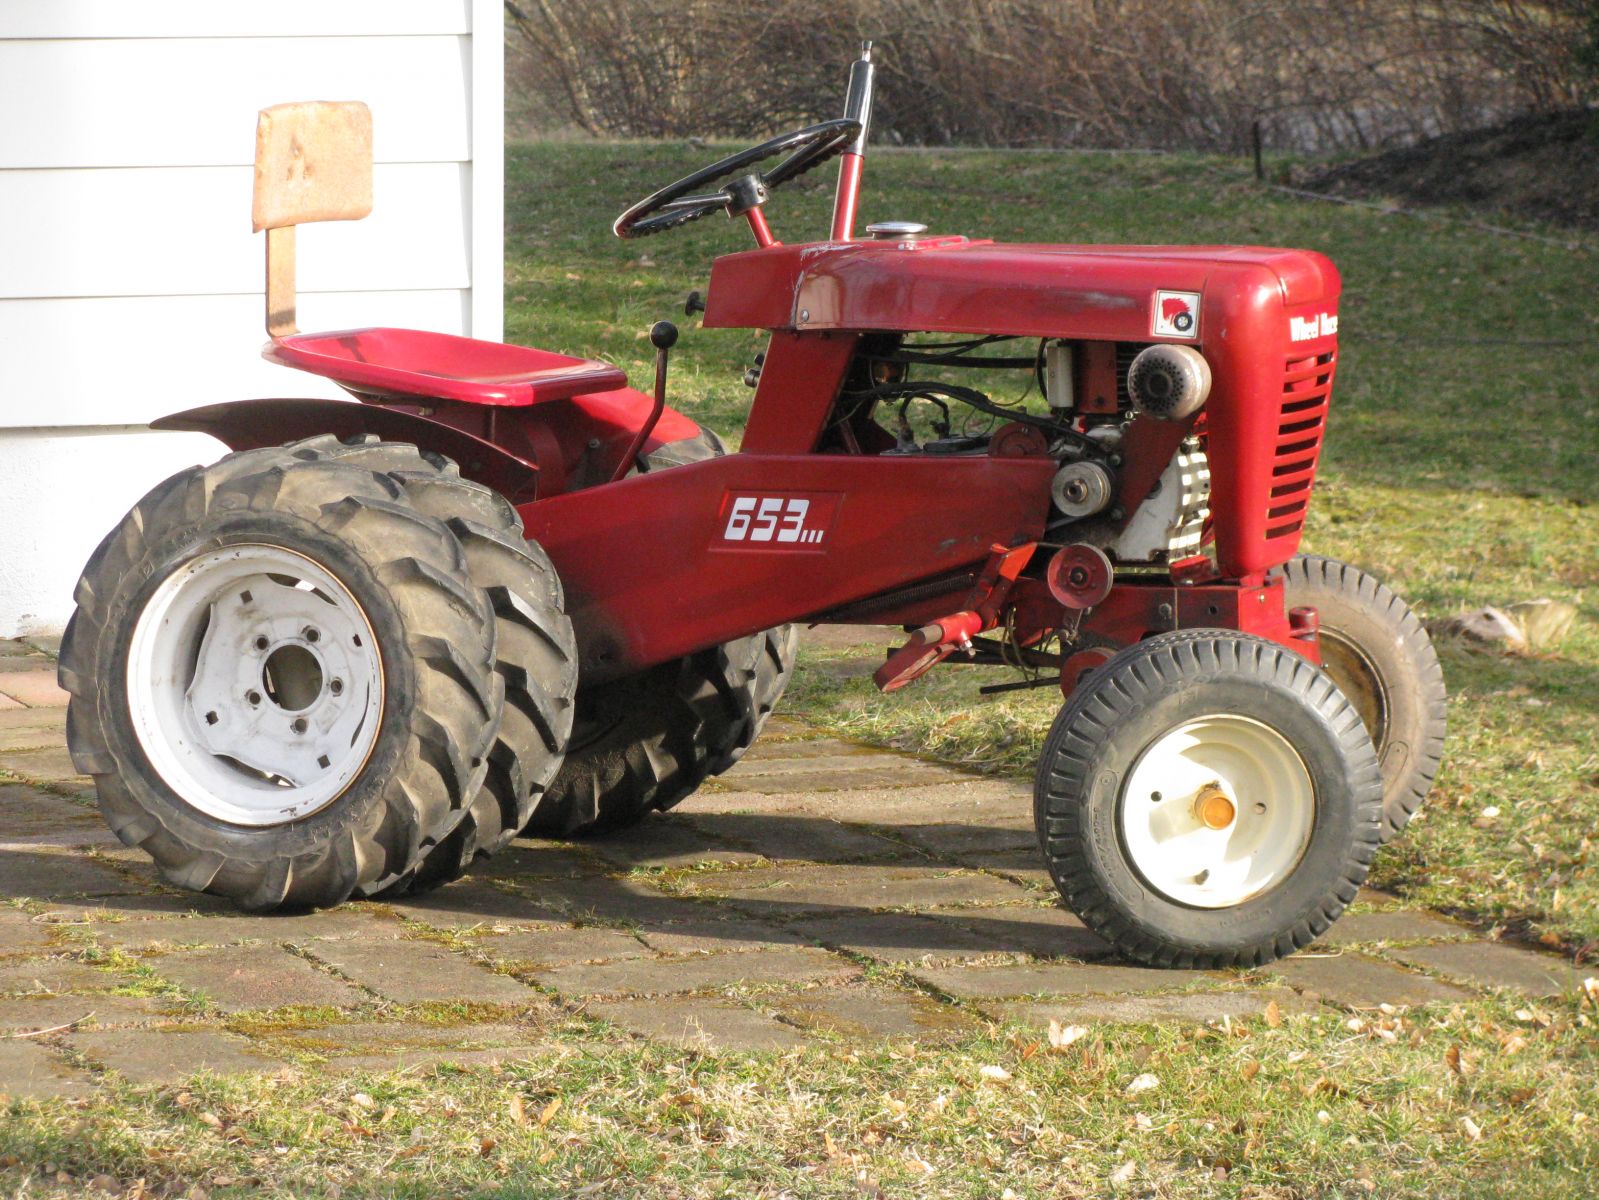
1 pointWow, I've never seen someone with an agenda against rear baggers.... Don't fret, the bagger was optional . But the single blade 30" deck (might be 33", I don't recall off hand) was included with the tractor. Seems like these were 1988 and 1989 models. You can plug your VIN number into the Toro parts lookup system to find part numbers for whatever you need, Then you can take those numbers to a dealer or places like rcpw.com to check pricing and availability. These were economy models but were probably some of the best performing mowing machines of the whole WH lineup. I think there was a 208 (8hp) SB too. These were introduced when the plug was pulled from the 100 series rear engine rider and the deck was scavenged from that line. In 1990 the "Super Bagger" name disappeared when Toro merged their RER lineup (8-25, 10-32, 12-32, etc) into the Toro-WH line. The small deck did remain an option on the 200 series to accomany the more common 37" SD and 36" RD decks. Single blade decks don't have as much turbulence and don't have to fight for airflow from other blades whizzing around in the same housing so tend to develop awesome suction and airflow capabilities. And they can usually chuck stuff up a bagging chute with minimal plugging. hence the "Super Bagger" marketing term. There is probably some regulation limiting blade length to 33" or so which is why you never see bigger single blade decks on consumer equipment. Your tractor had standard quite small wheels and tires both front and rear. Chances are the little dinks on the front are original and correct since wider tires would stick out past the edges of the deck. And that would make for a pretty lousy trimming setup. Whatever sizes TT told you are probably correct. I always thought the "SB's" looked kind of strange with the small tires. Especially the 208 which lacked headlamps. You'll find that there really aren't that many collectors who are as enthusiastic about the 200 series as I am (I have about 6 of them) so the market for these is pretty soft. But in the lawn tractor world they really were a pretty nice little unit and can outmanuever just about anything else from their era. They have a pretty stout frame for an LT, but the transaxles are not meant for much more than lightweight attachments like fertilizer spreaders and such. I don't know if the "SB" line had a unique manual or not. Probably was just a 200 series manual. They do pop up on eBay from time to time or you might find one at the show. It is worthwhile to have since there are some adjustment procedures outlined in there for deck leveling, brake adjusting, etc. Either version of the manual (1 has "Toro" on it, the other does not) will be fine. I don't have any spares unfortunately. Steve


This leaderboard is set to New York/GMT-04:00